
Shutter Drag Portrait Photography with Gongon at Tekumi Studios
Updated: September 10, 2026
Flash, slow shutter speeds and a personal challenge to step outside my usual colours. Here’s how we approached the first set from my Tokyo studio workshop, Vol. 19.
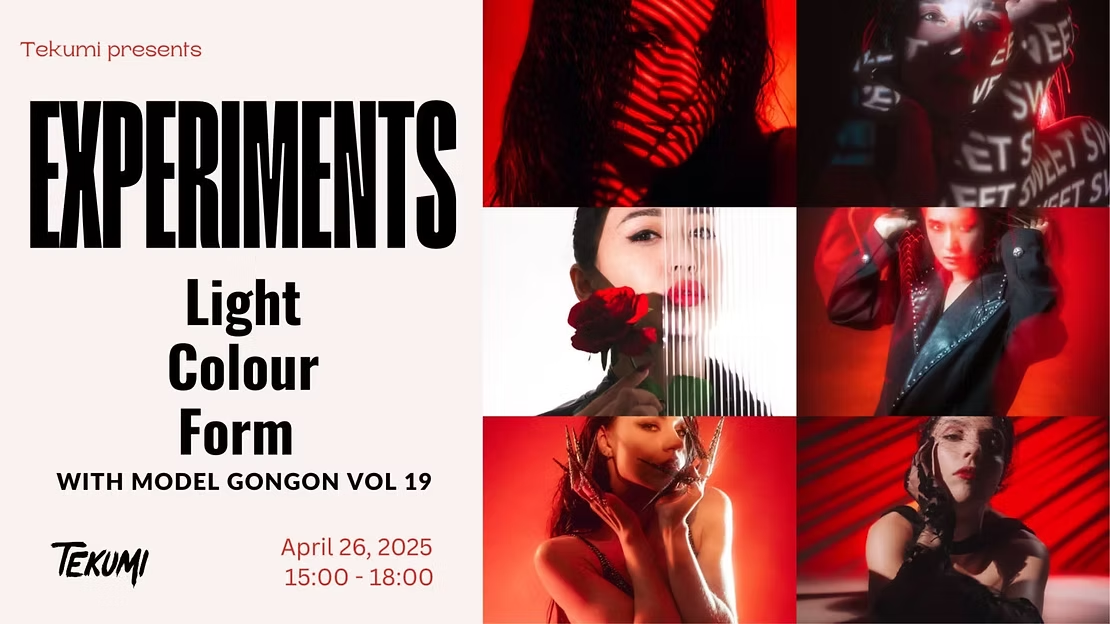
2025 got off to a pretty wild start. Some of my best months for client bookings, which I’m extremely grateful for, but much less time for the other parts of my photography. My studio workshop series was one of them. Vol. 19 with Tokyo-based model Gongon was my first workshop of the year, and it took me a while to get the results out. But finally, here we are!
We shot three sets at Tekumi Studios. Below, I’m breaking down the shutter drag lighting setup from the first one, including the camera settings, before sharing more from the rest of the day.
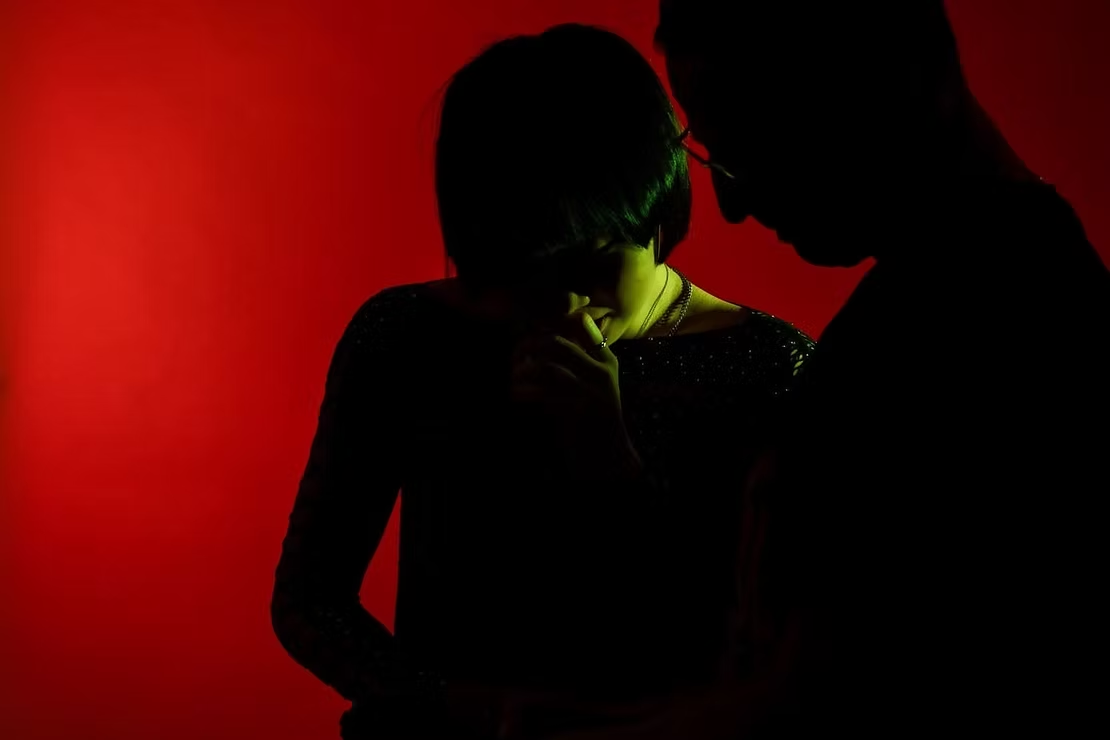
Checking the shots with Gongon in the studio.
The challenge: apparently I do like red and blue
A little before the shoot, one of my model friends told me I tend to use a lot of the same red and blue colour palettes. Of course I defiantly said this wasn’t the case. Then I scrolled through my Instagram feed and… yeah ok, I’ll give that one to her!
We all gravitate towards certain styles and colours. I took it as a personal challenge to do something a bit different for this one.
What is shutter drag portrait photography?
Shutter drag combines a slow shutter speed with flash. The brief flash exposure creates a sharp part of the portrait, while continuous light records movement during the longer exposure. That combination is what gives you a recognisable subject with streaks, blur or trails around them.
For this setup, the two main ingredients were a flash and a continuous light. Where you place the continuous light changes which parts of the subject leave a trail. It’s all about experimentation!
My shutter drag camera settings
Camera: Sony A7 IV
Lens: Sony FE 24–70mm F2.8 GM II
ISO: 200
Shutter speed: 0.5–0.8 seconds
Aperture: f/14
White balance: Flash
Backdrop: Fashion Gray
These are the settings from this particular setup, rather than a recipe that will look identical in every studio. The brightness and distance of your lights will change the result.
The lighting setup: flash, continuous light and background colour
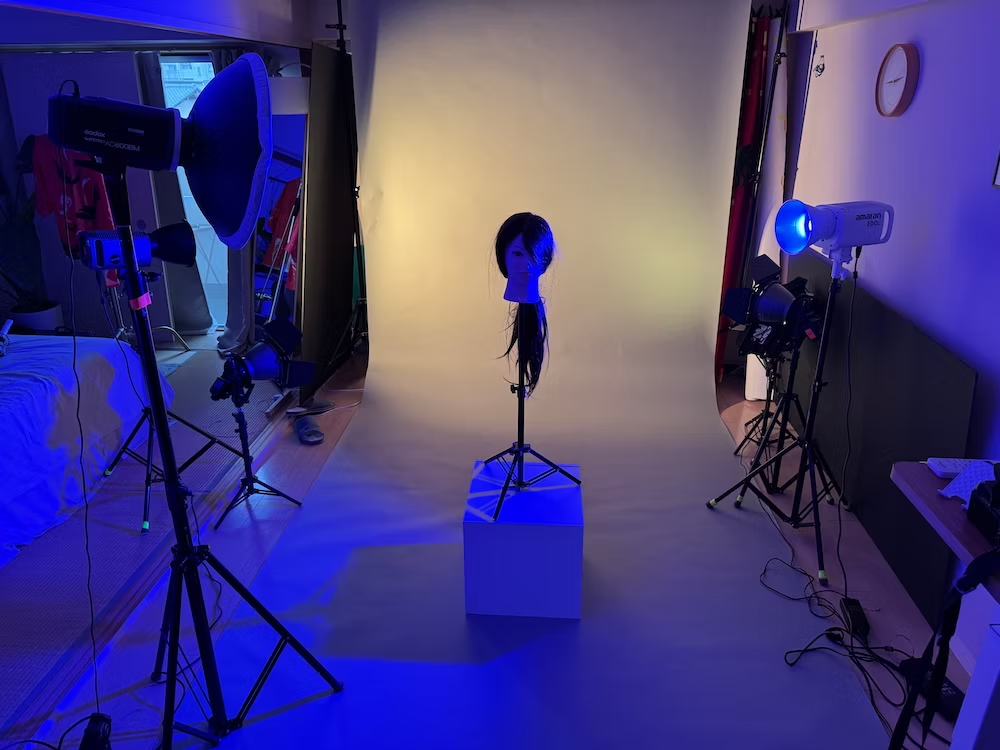
The key light was a Godox AD600BM with a beauty dish and grid, positioned in front of Gongon on the left and directed towards her face.
An amaran 300c RGB continuous light sat slightly behind her on the right. This supplied the continuous light for the movement effect.
I also had two speedlights with gels aimed towards the grey backdrop, one from either side. The background colour is another part you can play with to suit the portrait.
How to experiment with the effect
Start with the flash. Establish the light on the face before adding the other lights.
Add your continuous light. Check where it falls on the subject and what records during the longer exposure.
Try a slow shutter speed. My range was 0.5–0.8 seconds. Adjust it to suit the amount of movement you want.
Change one thing at a time. Try moving the camera or asking for a small movement from the subject, then compare the result.
Bring in the background colour. See how it works with the subject and the light trails.
If the face looks too smeared, check how much continuous light is hitting it. If the trails barely show, experiment with the continuous light’s brightness, the movement or the shutter speed. A longer exposure records more continuous light without necessarily making the flash-lit part brighter.
I think I definitely managed some fresh colour combinations outside my usual, and I absolutely love the results. Give it a try yourself and change the colours to something you like. That’s half the fun.
More from Vol. 19: the second and third sets
We didn’t stop at shutter drag. Below are more images from the other two sets that day.
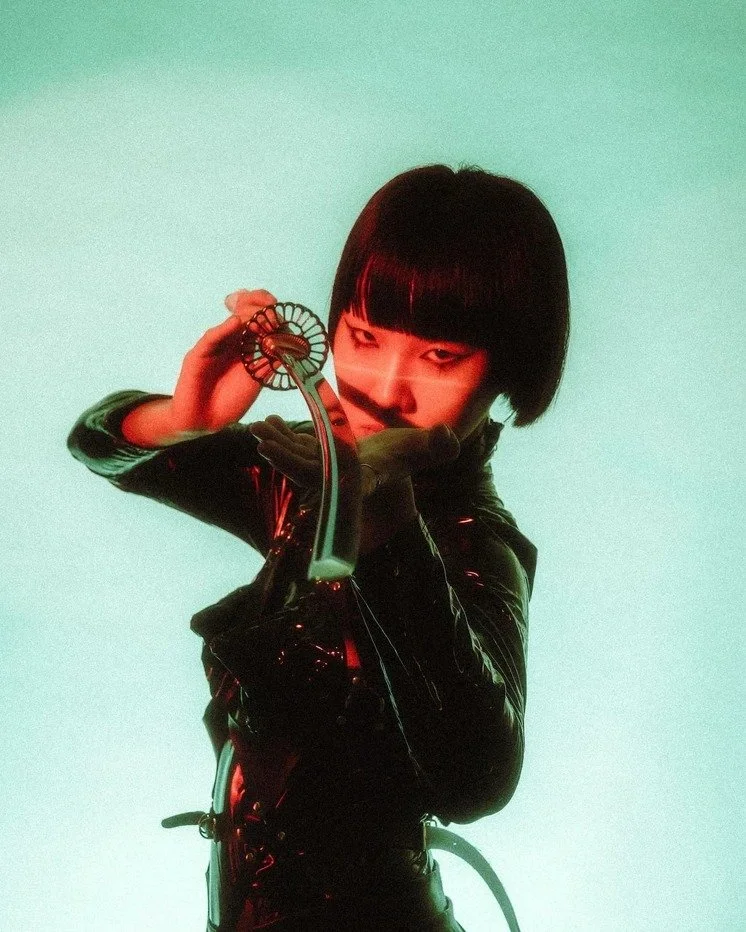
I especially love the retro aesthetic we achieved with the katana set and that green and orange palette. It gave me a real Kill Bill meets old-school ’70s samurai movie vibe!
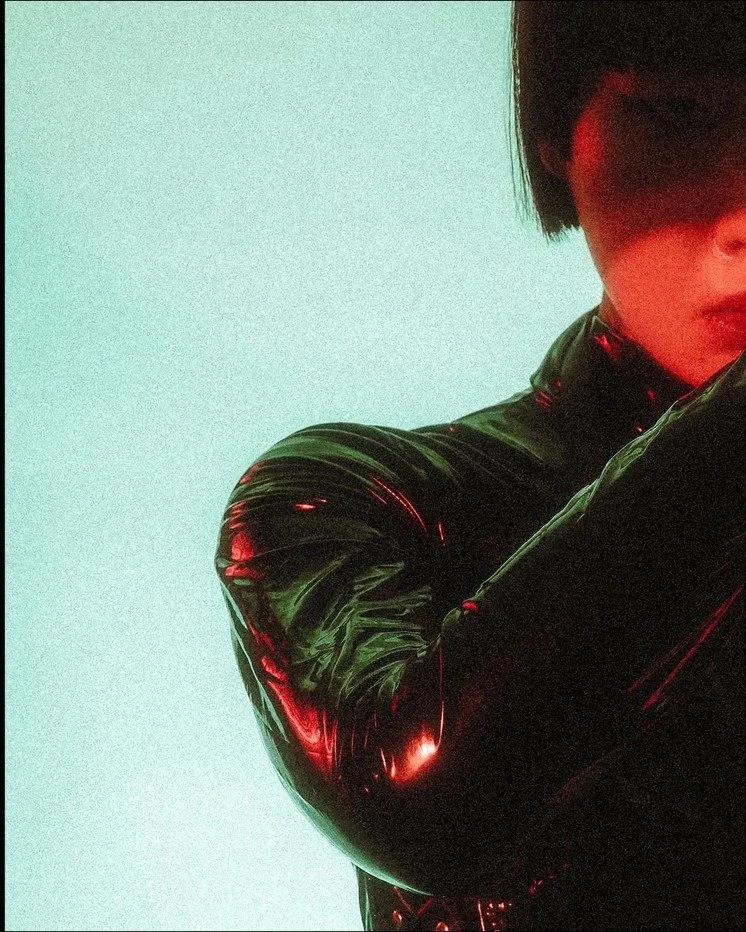
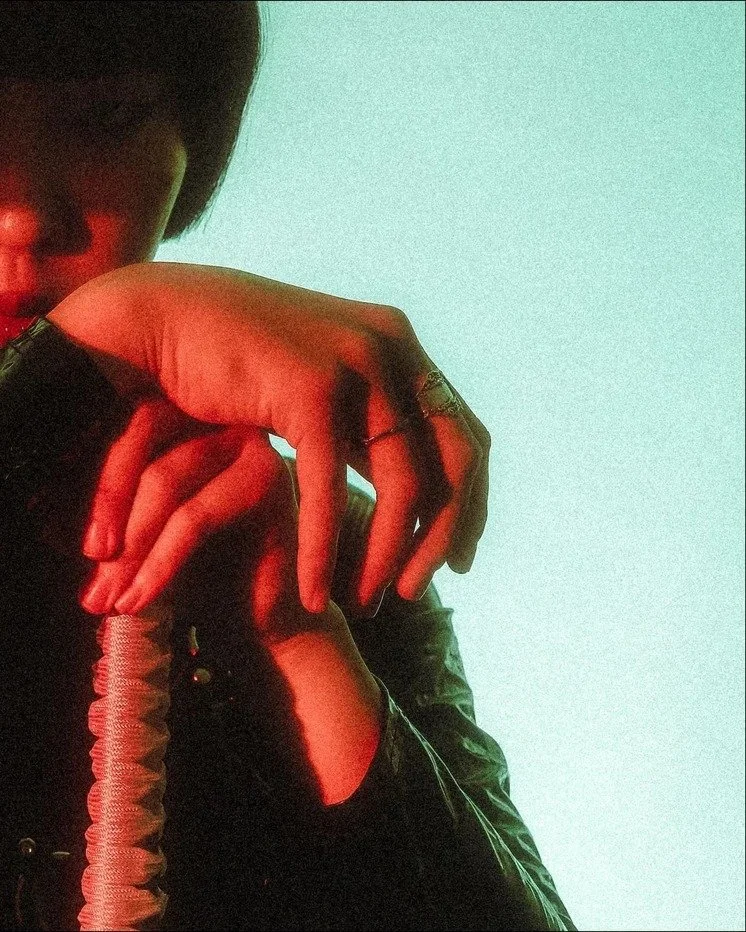
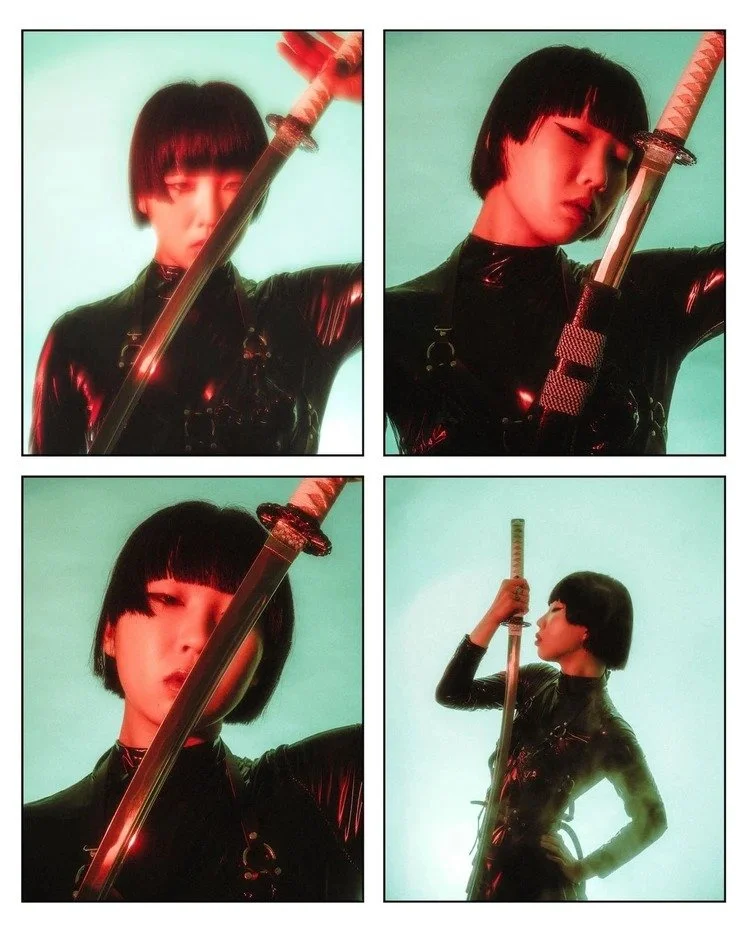
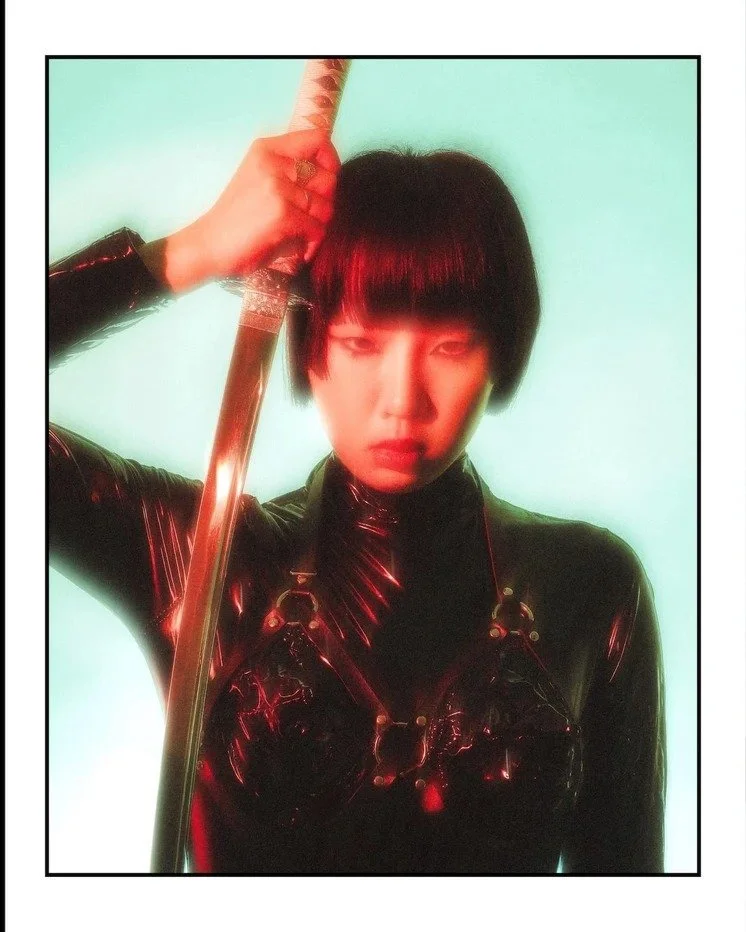
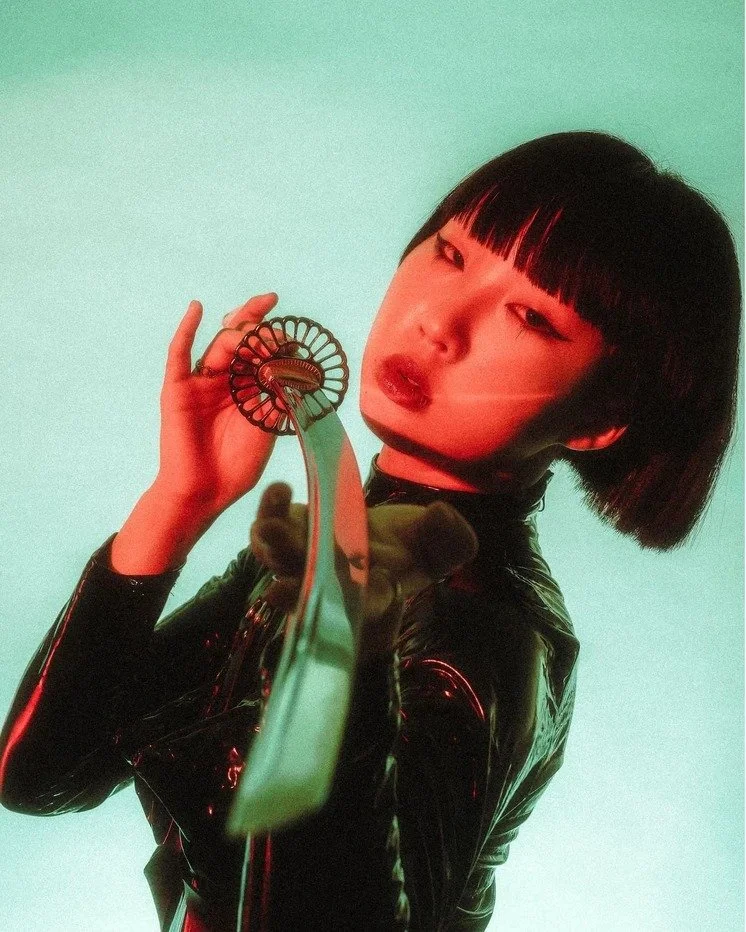
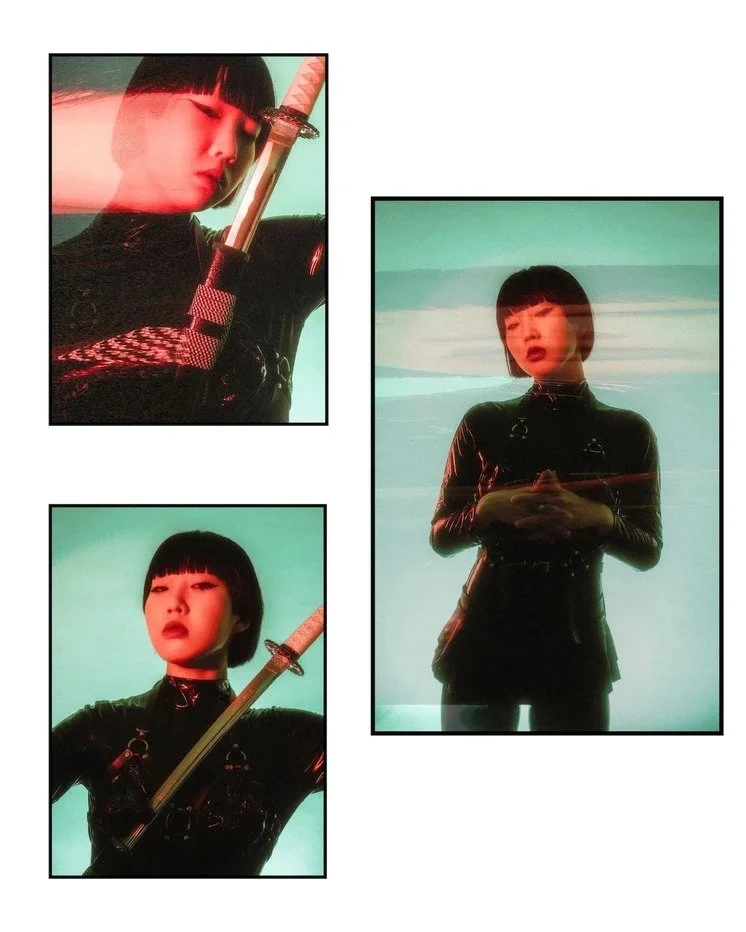
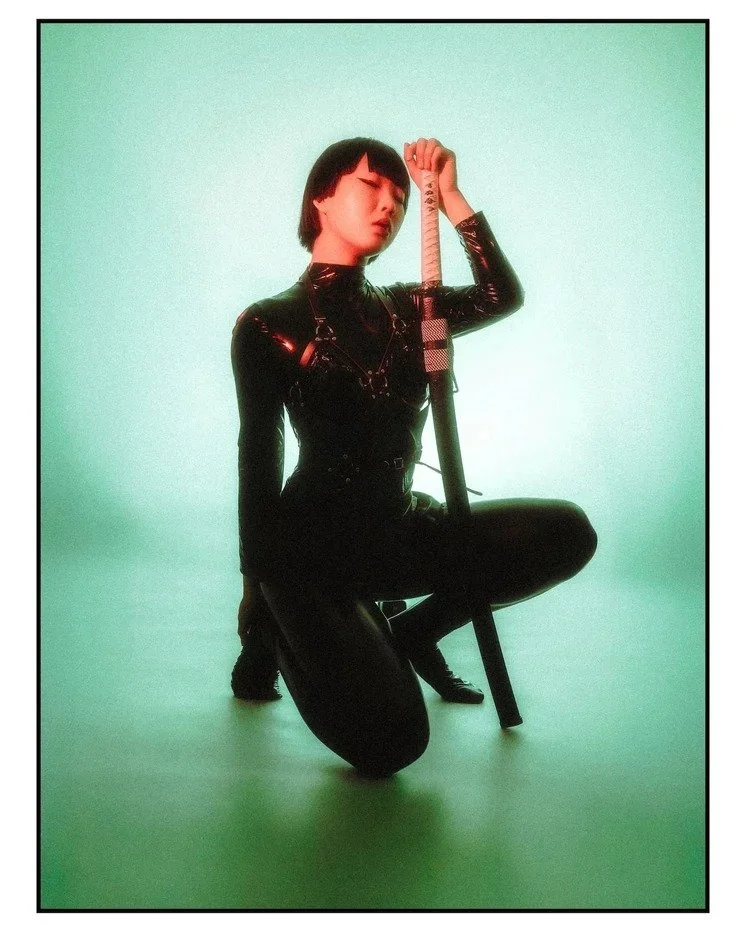
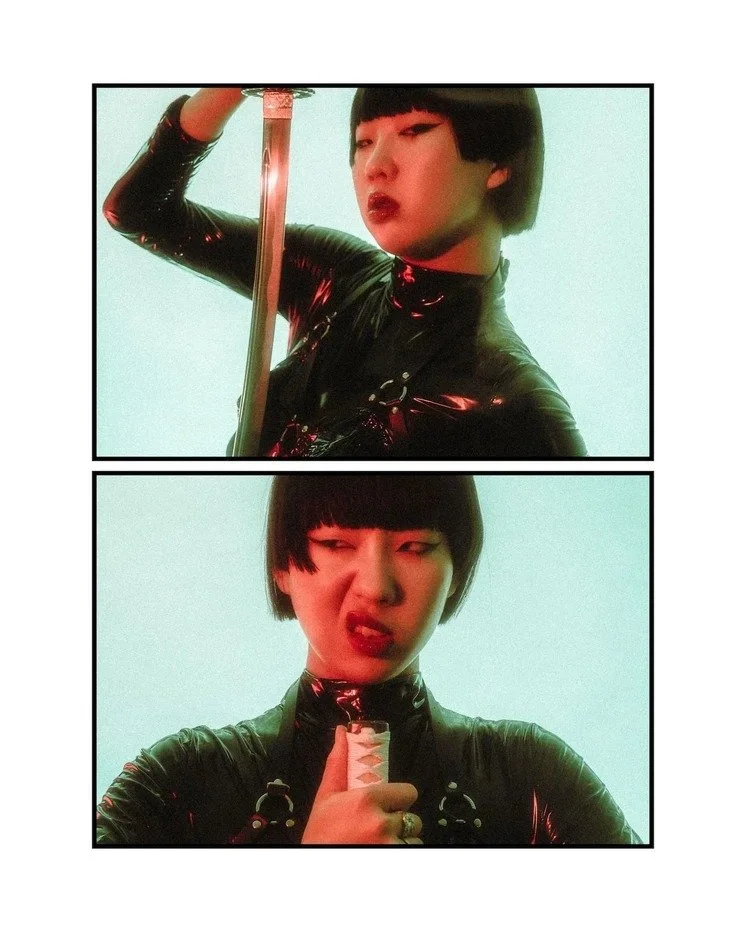
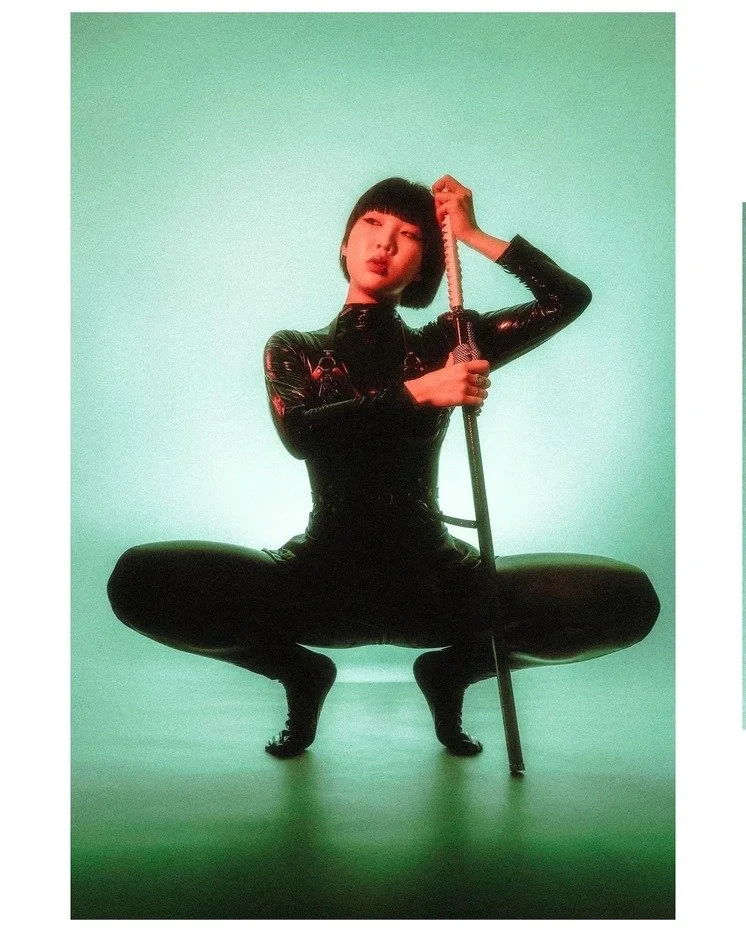
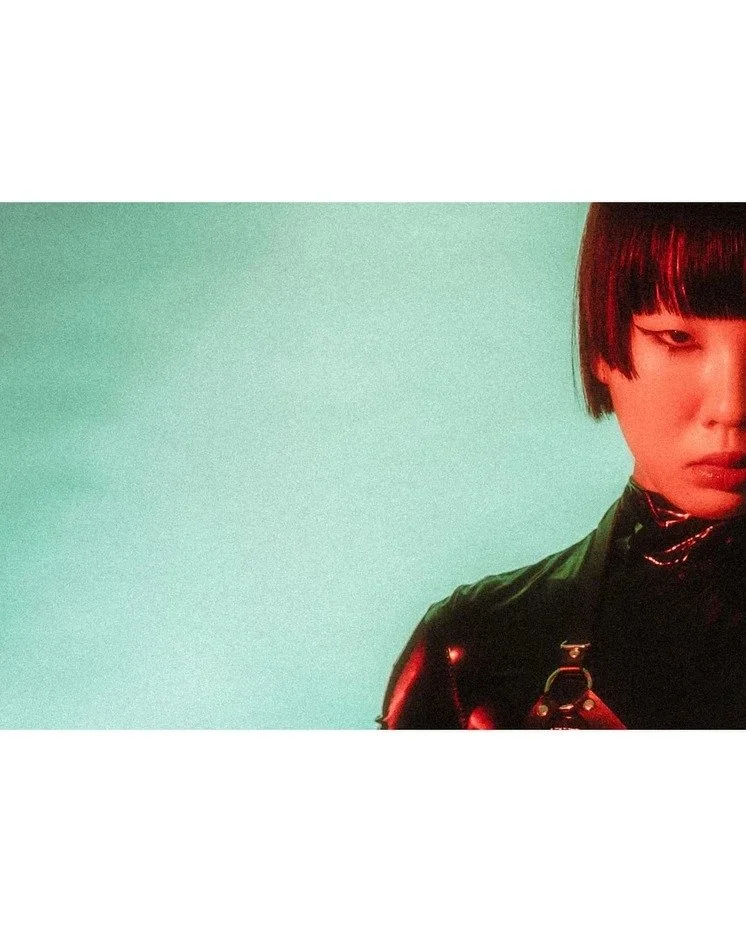
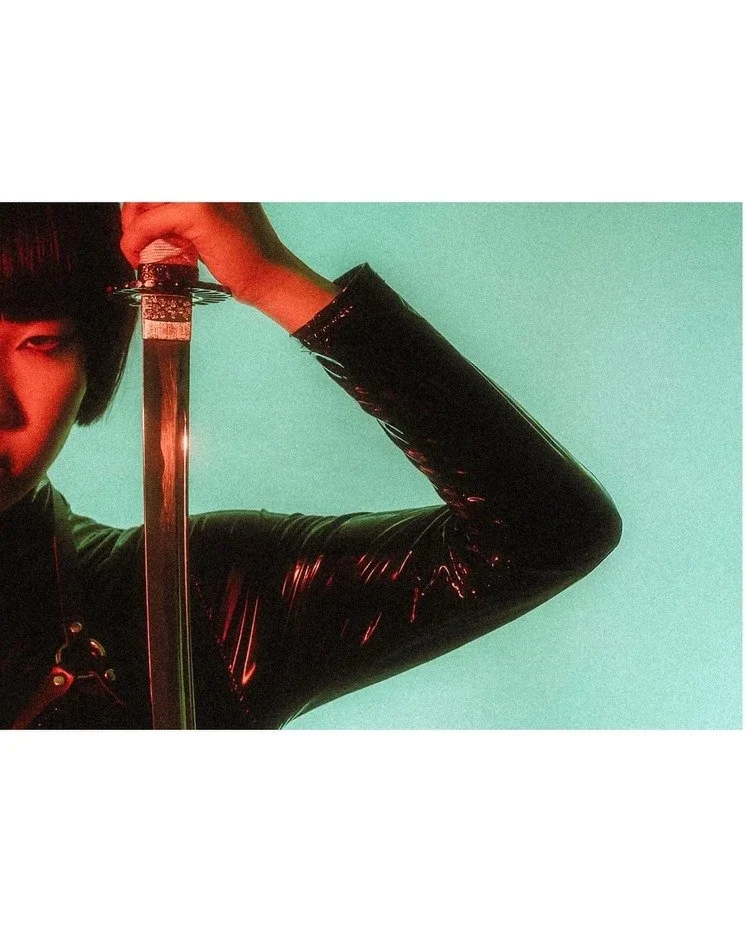
(Make sure to scroll through the images)
Join a photography workshop in Tokyo
Thanks as always to the amazing, creative photographers who came out, and to Gongon for bringing these ideas to life.
If you’re in Tokyo and interested in joining a future session, send me a DM on Instagram or check the Tekumi Meetup for Creatives group for event updates.
Have a creative portrait idea of your own? Get in touch about a photoshoot.
For more experiments and behind-the-scenes stories, explore my photography blog.